
Whatever your line of work, physical prototypes are an important part of product development, bridging the gap between ideas and production. Prototypes can be used to assess the physical performance of a part, to pitch ideas to potential investors and to provide proof of concept. In some ways, they’re as important as the finished product.
But it’s easy to make mistakes when developing a prototype. Some businesses think that a sloppy-looking demonstrator will suffice when really it will be off-putting to key investors. Others put plenty of time and effort into their prototype, but don’t think about the crucial relationship between prototype and finished product: they develop a fantastic prototype but don’t consider how that prototype could be produced at scale.
Fortunately, creating a professional prototype doesn’t have to be difficult. If certain rules and principles are followed, businesses can create affordable and effective prototypes to serve any need.
1. Know the purpose of your prototype
Businesses developing a new product don’t always know how to approach prototyping. They know when it’s time to build a rough version of their product, but they don’t necessarily know what the prototype will do.
Will it be used to carry out mechanical tests? Will it be used as a prop during conference calls? Will it simply be used to assess color combinations? The first stage of prototyping should involve figuring out the exact purpose of the prototype.
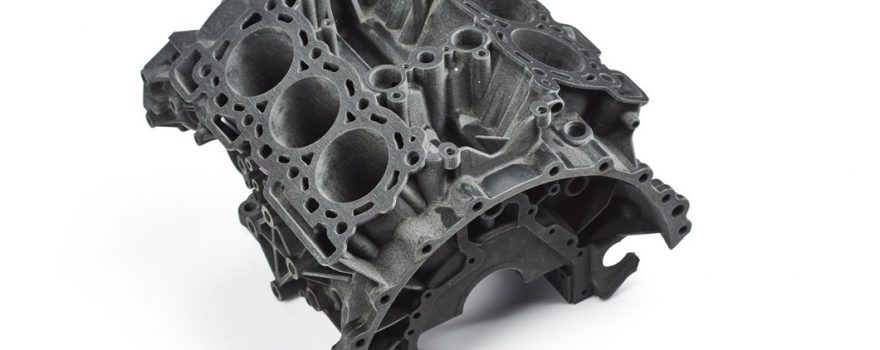
If it is a functional or working prototype for mechanical testing, businesses will need something that accurately simulates the function of the actual component. It should be made of similar materials and possess similar physical characteristics. Its appearance, however, will be of little concern.
A visual prototype, meanwhile, comes with an entirely different set of requirements. Visual prototypes do not need to be functional, but they may need to convey the appearance of functionality in a way that entices prospective users, customers or investors. In other words, visual prototypes should not be held together with tape.
Because prototypes can do different things, it is essential to clarify the purpose of a prototype before developing it.
2. Provide an accurate representation of the part
A common mistake made during prototyping is forgetting what a prototype really is. Whatever the purpose of the prototype — visual, functional or something else — the job of the prototype is to act as a stand-in for the final part. If it fails to do this, it fails as a prototype.
Paradoxically, this means that prototypes can be made too well. When a prototype is being designed and developed, it may be tempting to apply fixes and modifications to improve its functionality or appearance. However, if these fixes are not repeatable at the production scale, they will make the prototype less representative of the final part.
Remember: when developing a prototype, the product should be refined as much as possible — but only in a way that reflects the possibilities and limitations of the chosen production methods. Machining away some excess material may only take an hour on a prototype, but that could equate to weeks of labor during production.
3. Use production-grade materials and techniques
It can be beneficial to use materials and techniques that will eventually be used during production — if the budget permits. Doing this achieves two goals.
Firstly, using production-grade materials and techniques leads to a higher-quality prototype that will look and feel more attractive to potential investors, customers, colleagues, and partners.
Secondly, making a prototype with end-use materials and techniques allows a business to predict the success or failure of production. If defects occur during prototyping, there will be time to iron them out before production. By contrast, if a business chooses to, for example, 3D print its prototypes before switching to injection molding, it cannot know with certainty how the molded parts will turn out.

4. Add a company logo or text
For prototypes that will be shown to third parties such as customers and potential investors, a company name or logo can improve appearances and give a lasting reminder of exactly who has developed the product.
Machined and molded prototypes can include embossed or engraved text without adding further steps to fabrication, and there are several simple ways to add logos and text after a part has been fabricated.
Needless to say, working prototypes developed for in-house use will not benefit from the addition of logos and text.
5. Finish on a high
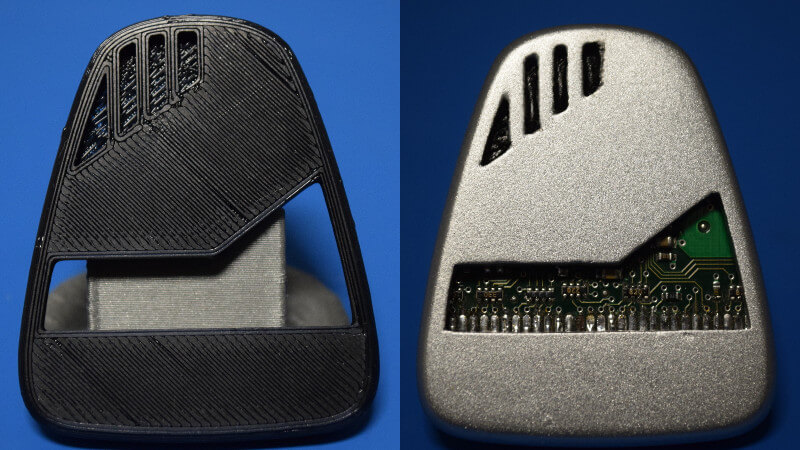
It may seem counterintuitive to focus on the appearance of a prototype, but the addition of a professional surface finish can provide several benefits. Besides making the prototype look more like a finished product, a professional surface finish can actually hide the evidence of cost-saving practices used during prototyping.
Consider the following two cases:
- Business is developing a low-cost plastic prototype for a truck frame that will eventually be machined from aluminum.
- Business is developing a 3D printed prototype of a children’s toy that will be mass-produced using injection molding.
Both businesses can use simple finishing procedures to their advantage. Business 1 can give its prototype the appearance of aluminum by using a finishing process like chrome or zinc plating, and its mock metal prototype will be much cheaper than an actual aluminum prototype. Business 2, meanwhile, can apply a high-gloss polish to its 3D printed prototype, giving the appearance of an ultra-smooth injection molded part.
3ERP, a global rapid prototyping company that caters to early-stage prototypes, short-run production and everything in between, has provided five straightforward tips for creating professional and effective prototypes.
For projects large and small, contact 3ERP for expert guidance on creating professional prototypes.