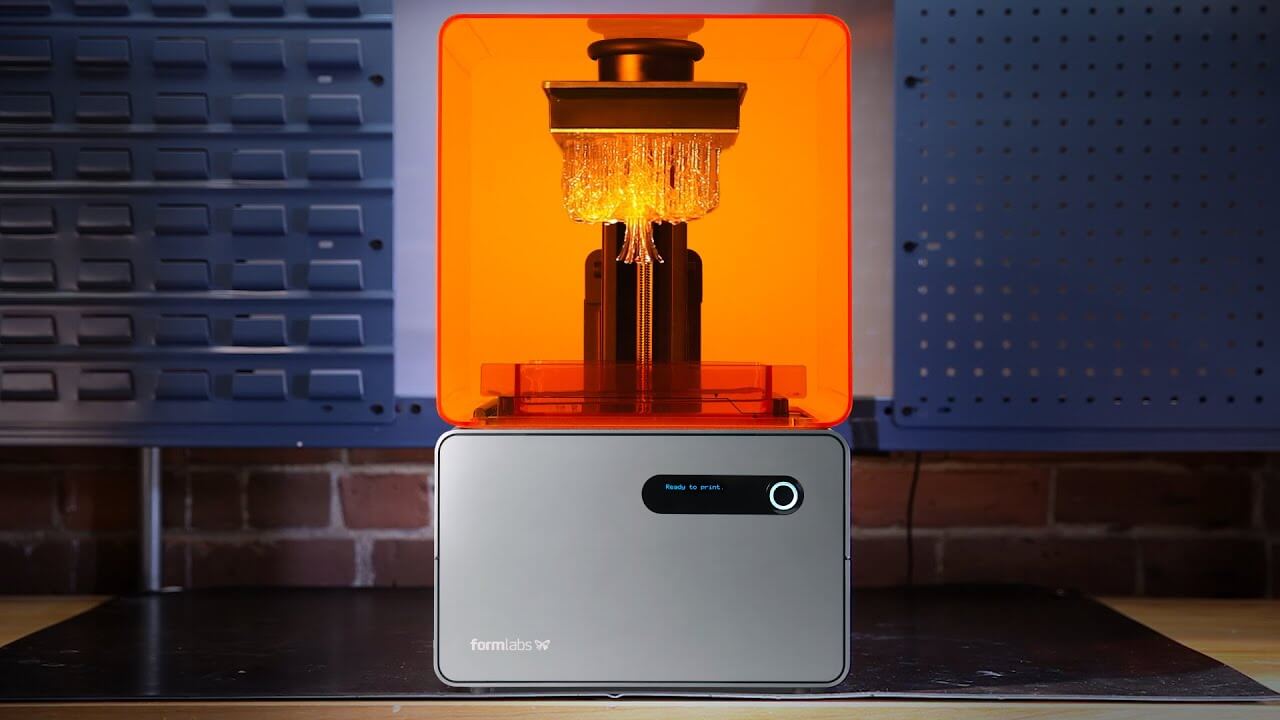

Stereolithography (SLA) is a versatile and high-quality manufacturing and prototyping process. Although less widely used than extrusion-based additive manufacturing technologies like Fused Deposition Modeling (FDM), SLA was actually the original incarnation of 3D printing, first appearing way back in the 1980s. Today, desktop SLA printers have been popularized by brands like 3D Systems and Formlabs, and the technology is used to create everything from jewelry casts to dental products.
With 3ERP’s efficient 3D printing service, creating a product or prototype using SLA is easy, and the advantages are numerous. For one, printing an object using an SLA printer is a very fast process, much faster than extrusion-based printing. Better still, the finish on a printed part is often remarkably smooth compared to FDM, sometimes so smooth it doesn’t even need post-processing. Another advantage of SLA is its many coloring options which include translucent materials, massively opening up the design possibilities for a printed part.
How does SLA work?
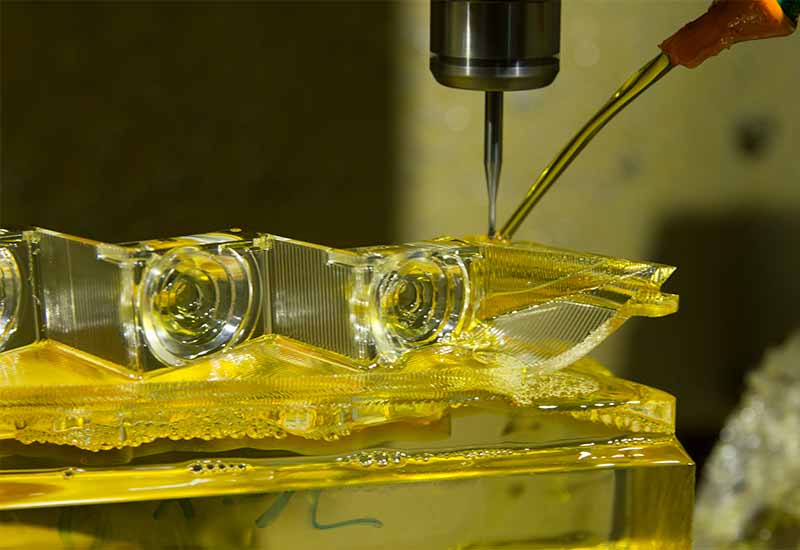
Stereolithography is one of several 3D printing variants of vat photopolymerization: a process in which a light source is used to cure liquid resin, turning it into hard plastic. Most SLA printers use an ultraviolet laser as a light source, focusing the laser beam in predetermined patterns onto the liquid resin, then proceeding to the next layer once the previous layer has hardened. Depending on the setup of the specific printer, mirrored galvanometers may be used to direct the laser beam onto the liquid resin.
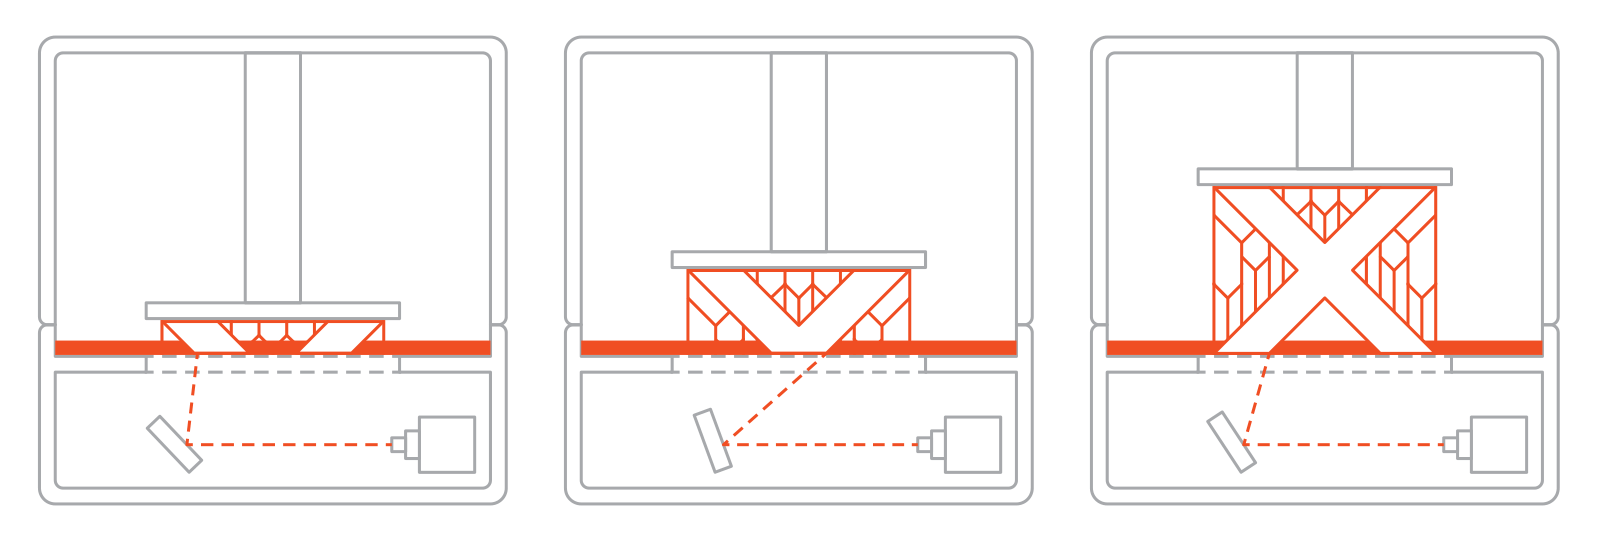
SLA process:
- Vat filled with photosensitive resin
- UV laser directed at resin
- Laser cures 2D shape in resin
- When shape hardens, build platform moves to next layer
- UV laser cures another 2D shape
- When all layers cured, result is 3D plastic object
Material options
3ERP offers several resin material options for Stereolithography 3D printing.
These include:
- Resin 8119: A common SLA material with a temperature resistance of up to 65°C.
- Resin 8118H: A nylon-like resin with exceptionally high tenacity.
- Resin 8228: An ABS-like resin resistant to impact and to temperatures up to 70°C.
- Resin 8338: The most temperature-resistant of our resins, able to withstand up to 120°C.
Designing parts for SLA
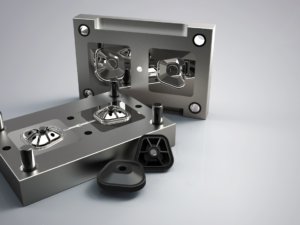
Engineers familiar with CAD should have no issues designing parts for SLA. However, there are certain rules that need to be followed in order to ensure there are no issues during or after printing. A part originally designed for injection molding, for example, may not function as an SLA part.
1. Make sure SLA is the process you need
Although SLA is a fairly versatile 3D printing process, one should be familiar with other manufacturing options before deciding that SLA represents the best option. In general, SLA is great for producing smooth, detailed parts that are limited in size. It does not create especially strong parts.
2. Wall thickness
Unless super-fine walls are a must, it is best to keep wall thicknesses at a minimum of 1 mm, which reduces the risk of damage to the part after printing.
3. Holes
Since photosensitive resins generally have high viscosity, they are not particularly well suited to parts with small holes. Maintaining hole diameters of 0.8 mm or more is a good way to ensure that the holes do not disappear altogether during the printing process. Not possible? Try another plastic manufacturing process instead.
4. Fillets
Unsupported walls should be given filleted bases — curved sections instead of right angles — to minimize stress and maintain strength. Given the overall fragility of SLA printed parts, incorporating fillets can be the difference between a successful part and an unsuccessful one.
5. Long & thin sections
Sections of a part that are much larger along two axes than the other can be susceptible to warping. However, this effect can generally be reduced by using a generous number of supports. (You’ll need these anyway.)
6. Embossed & engraved details
Commercial parts often need to be marked with embossed or engraved text, whether for branding or informational purposes. Not all text sizes, however, will print properly and clearly during the SLA process. In general, embossed details should be at least 0.3 mm high and 0.4 mm wide. Engraved details should be 0.5 mm wide and deep. If this isn’t possible, there are techniques for marking a part after printing.
7. Orientation
This is something we’ll take care of on our end, but choosing the correct printing orientation for a part is highly important. The goal here is to reduce the Z-axis cross-sectional area to ensure stability.
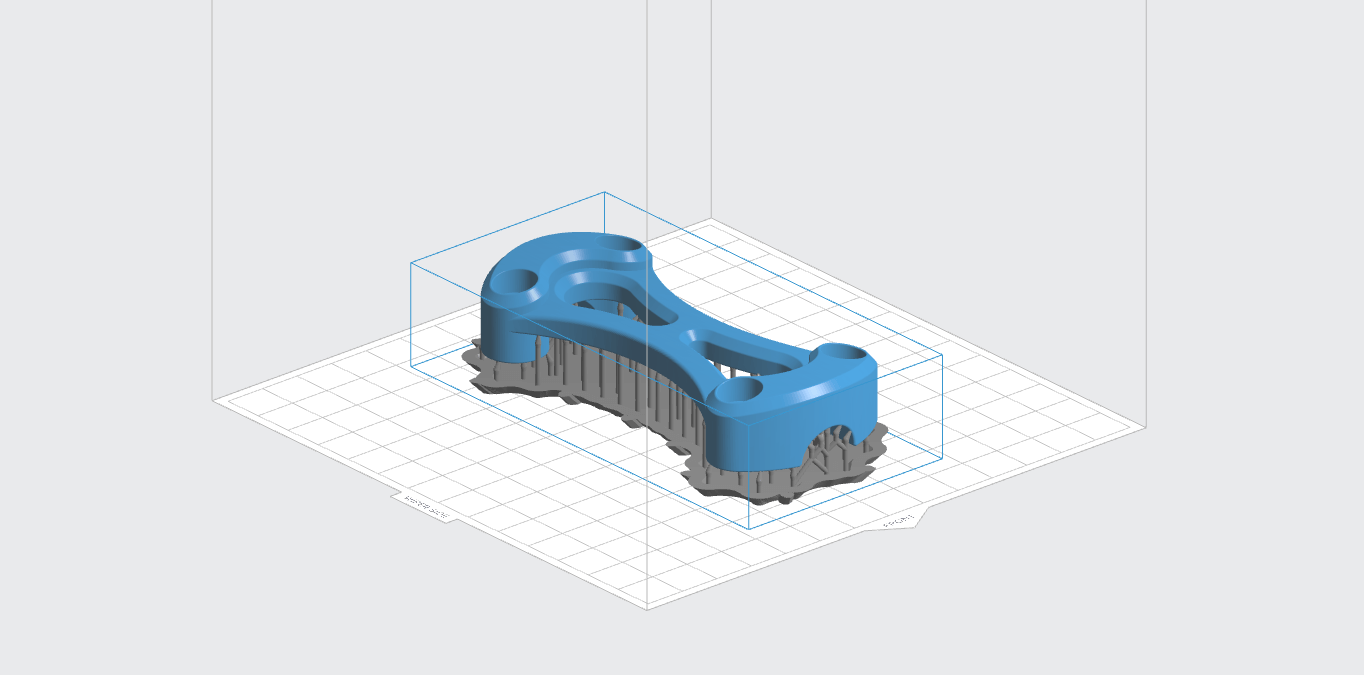
8. Supports
Again, incorporating supports happens on our end once we’ve got your digital design, but it’s important to know how they work. Support structures are massively important in SLA, helping the plastic part maintain its form during printing. They are removed from the part during the post-processing stage.
Ready to Begin?
Contact 3ERP today for a fast SLA 3D printing quotation.